
Finishing and Polishing Your Amber Pieces
The final touches matter. Discover how to polish amber safely, protect your finished pieces, and care for them long-term so they stay beautiful.
Written by the sorboovia editorial team, focused on practical, transparent guidance for amber jewellery making workshops.
Why Finishing Matters
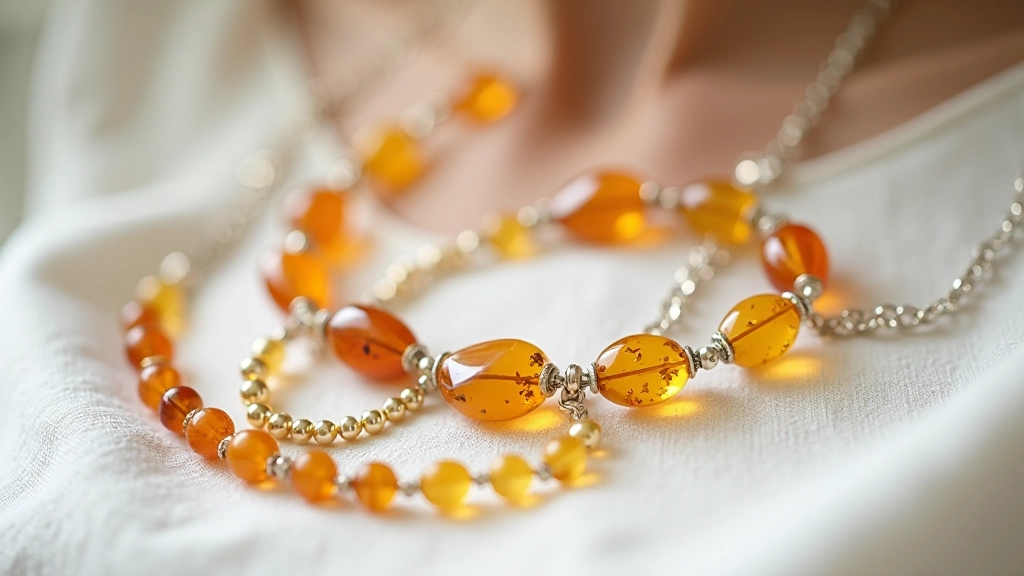
You've spent weeks on your piece — selecting the right amber, setting it carefully in silver, getting every detail right. The final step? Finishing and polishing. It's not an afterthought. It's what transforms a good piece into something you'll actually want to wear and keep.
Proper polishing brings out amber's natural glow. But here's the thing — it's not like polishing metal. Amber's a resin. It's softer. You'll need different tools, different techniques, and a bit of patience. Get it right though, and your pieces will shine for years.
Main polishing stages
Minutes per piece
Years durability
The Three-Stage Polishing Process
There's a progression here. You won't jump straight to the final shine. Start rough, work medium, finish smooth. It's like any craft — you build up to the good stuff.
Sanding & Smoothing
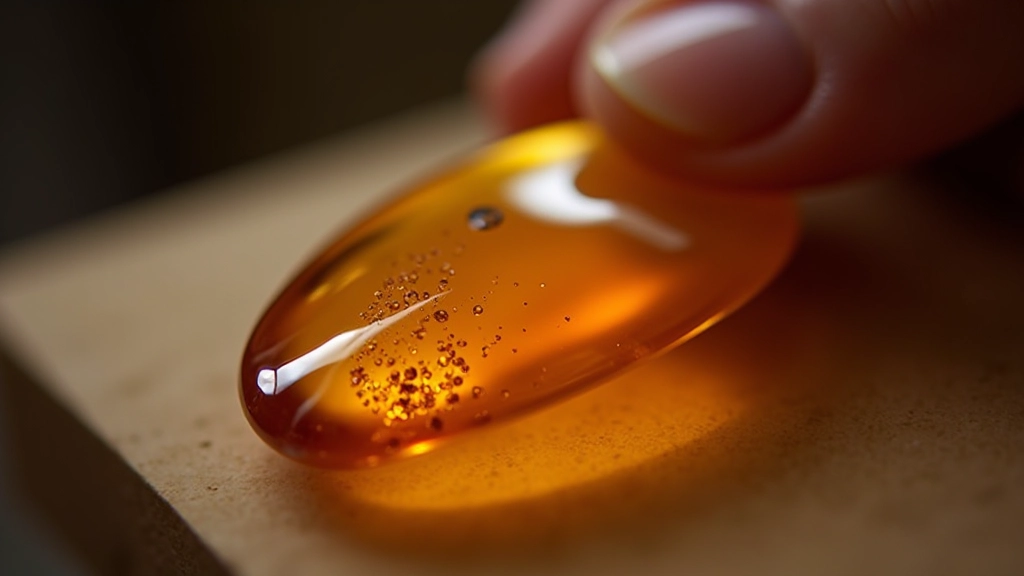
Start with 220-grit sandpaper. You're removing any rough edges, tool marks, or imperfections from the setting work. Light pressure is key — amber's softer than you think. Work in gentle circular motions for 3-5 minutes per piece. Don't rush this stage.
Intermediate Polish
Move to 400-grit paper next, then 600-grit. You're refining the surface now, not removing material. This is where the shine starts showing. Spend about 5 minutes on each grit level. You'll notice the amber starting to look clearer.
Final High Shine
Use 1000+ grit paper or microfiber cloth with polishing compound. This is the magic moment. The amber goes from matte to glossy. Work slowly, check your progress often. You'll see the color come alive and the light reflect differently.
Tools You'll Actually Need
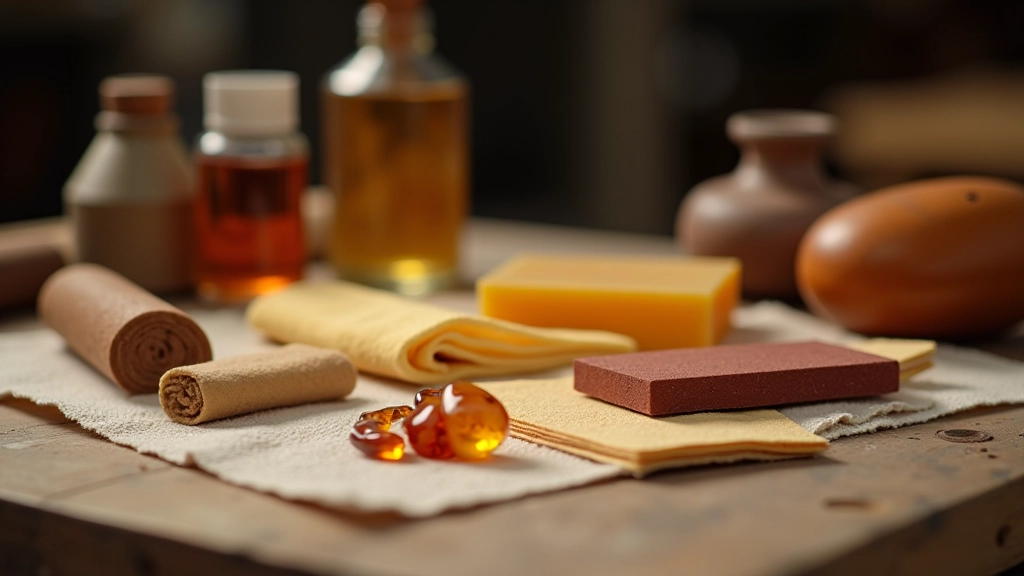
You don't need expensive equipment. Honest. Most of this stuff's basic and affordable. Here's what works.
Sandpaper Set (220-1000 grit)
Essential. Get a variety pack with multiple grits. They're cheap and last forever if you don't lose them.
Amber Polishing Compound
Specialized for amber. Don't use regular metal polish — it's too abrasive. Amber compound's gentler and brings out the natural color better.
Microfiber Cloths
Soft, lint-free. Essential for final buffing without scratching. Keep several on hand — they get dirty quickly.
Protective Coating (Optional)
A thin protective finish helps amber resist dust and minor scratches. Not required, but it extends the life of your shine significantly.
Important: Gentle Handling
Amber is softer than you might expect. These techniques are designed for safe, gentle polishing. Always test on a scrap piece first if you're trying a new tool or compound. Amber's temperature-sensitive too — avoid direct heat from polishing tools. If you're unsure about your piece, check with your workshop instructor before proceeding. Everyone's amber's a bit different, and some pieces need special care.
Keeping Your Polish Pristine
You've polished your piece. Now keep it that way. Amber's not fragile, but it does collect dust and fingerprints. A few simple habits make all the difference.
Store Properly
Soft cloth pouch or jewelry box. Keep away from direct sunlight — UV exposure can fade amber's color over time. Cool, dry place is ideal.
Clean Gently
Warm water and mild soap. Soft cloth only. Don't use harsh chemicals or abrasive cleaners. Pat dry immediately — don't let it air dry, which leaves water spots.
Wear It
Honestly? Amber looks better when you wear it. The oils from your skin actually help maintain the shine. Just don't wear it while doing dishes or heavy work.
Occasional Polish
Every 6-12 months, give it a light re-polish with your microfiber cloth and compound. Keeps the shine fresh without aggressive sanding.
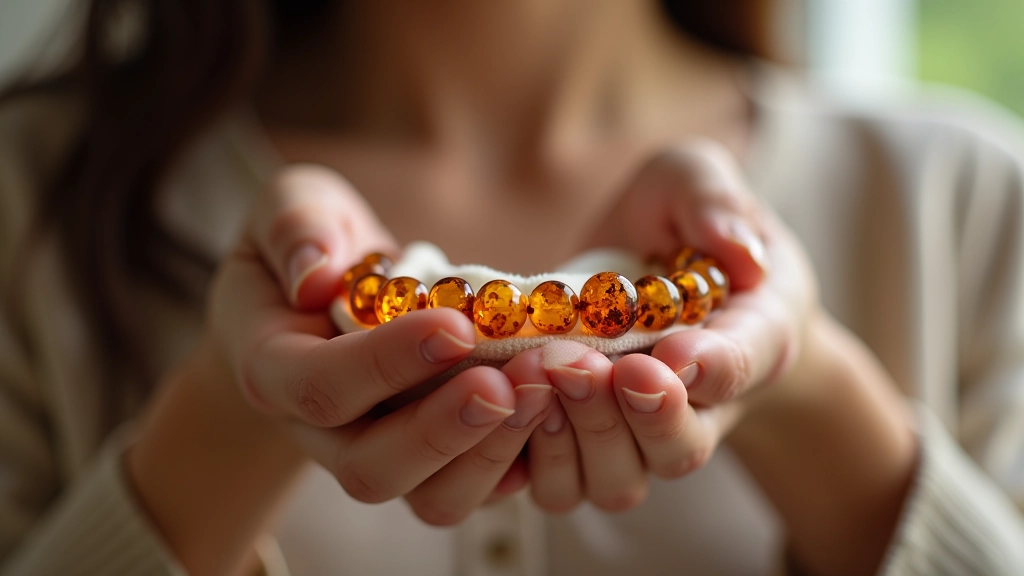
Your Finished Piece Is Worth It
Polishing amber isn't complicated. It's just methodical. Three stages, the right tools, and patience. You'll watch your piece transform — from matte and dusty to clear and luminous. That's the payoff. And once you've done it a few times, it becomes second nature. You'll actually enjoy the final stage because you know what's coming: that moment when the amber catches the light just right, and suddenly all those hours of work make sense.
The pieces you finish today will last decades if you care for them. That's the beauty of amber — it's ancient, it's durable, and it gets better with age. Your polish protects that beauty. Worth every minute.
Related Guides
Continue learning amber jewellery making with these resources
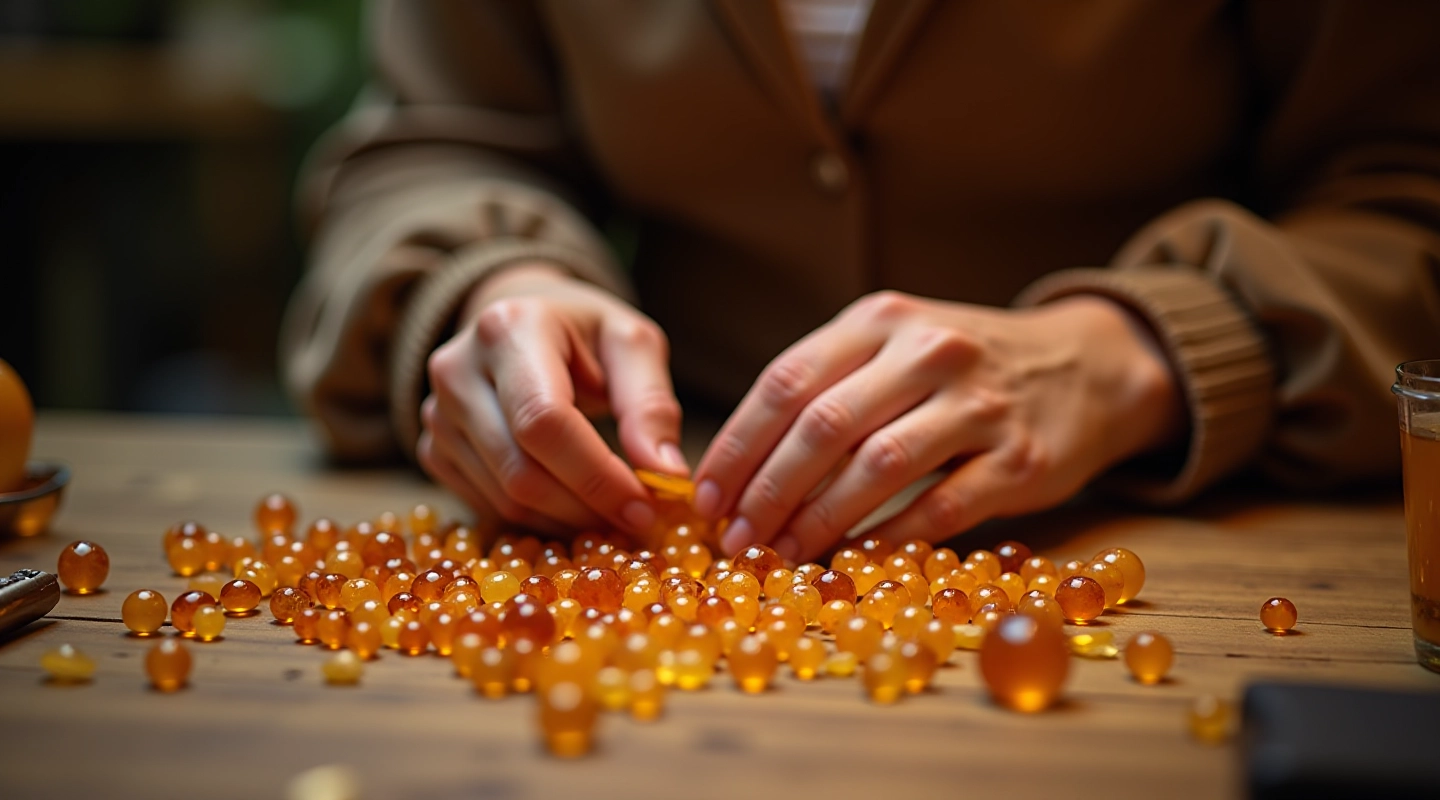
Getting Started with Baltic Amber Beads
Learn how to select quality amber, understand different cuts, and prepare your first pieces for jewellery making.
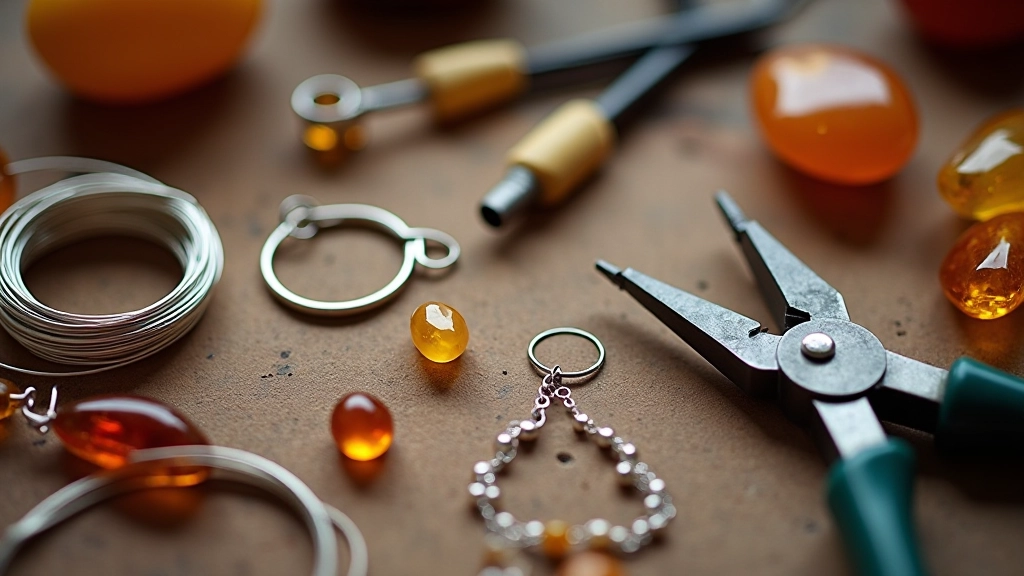
Silver Setting Techniques That Hold
Master the basics of securing amber in silver settings. We cover wire wrapping, prong settings, and more.
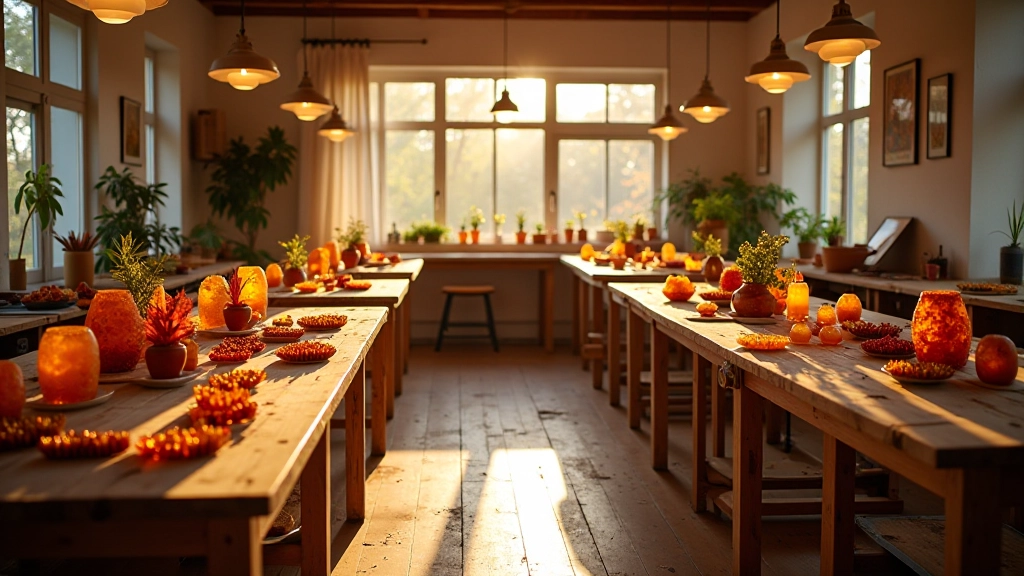
Choosing Your First Workshop Class in Palanga
Not sure which class fits you? We'll help you understand the difference between beginner, intermediate, and advanced programs.