
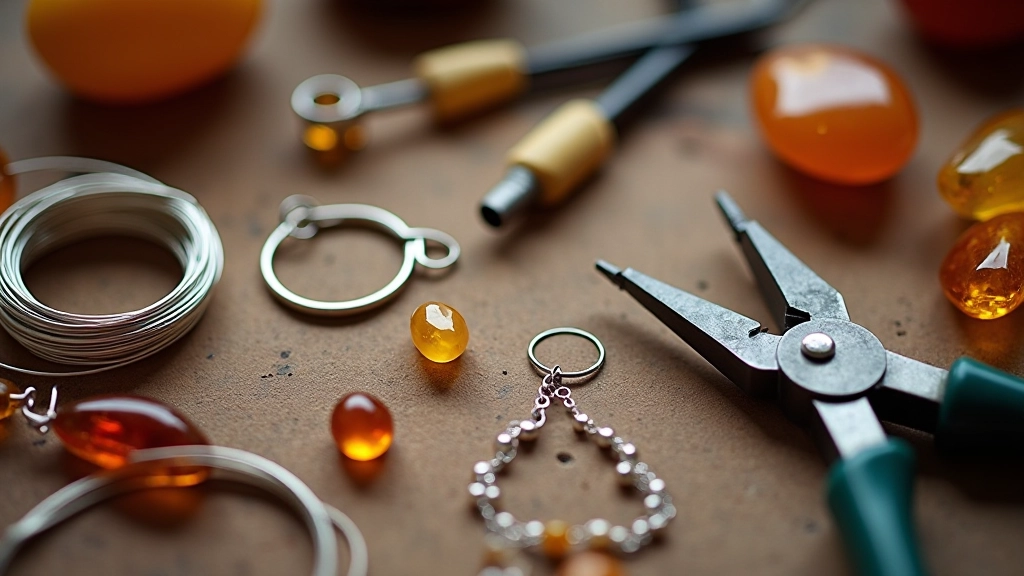
Silver Setting Techniques That Hold
Master the basics of securing amber in silver settings. We cover wire wrapping, bezels, and techniques that keep your stones safe through years of wearing.
Read More →Learn how to select quality amber, understand different cuts, and prepare your first stringing project. We'll cover what tools you'll actually need.
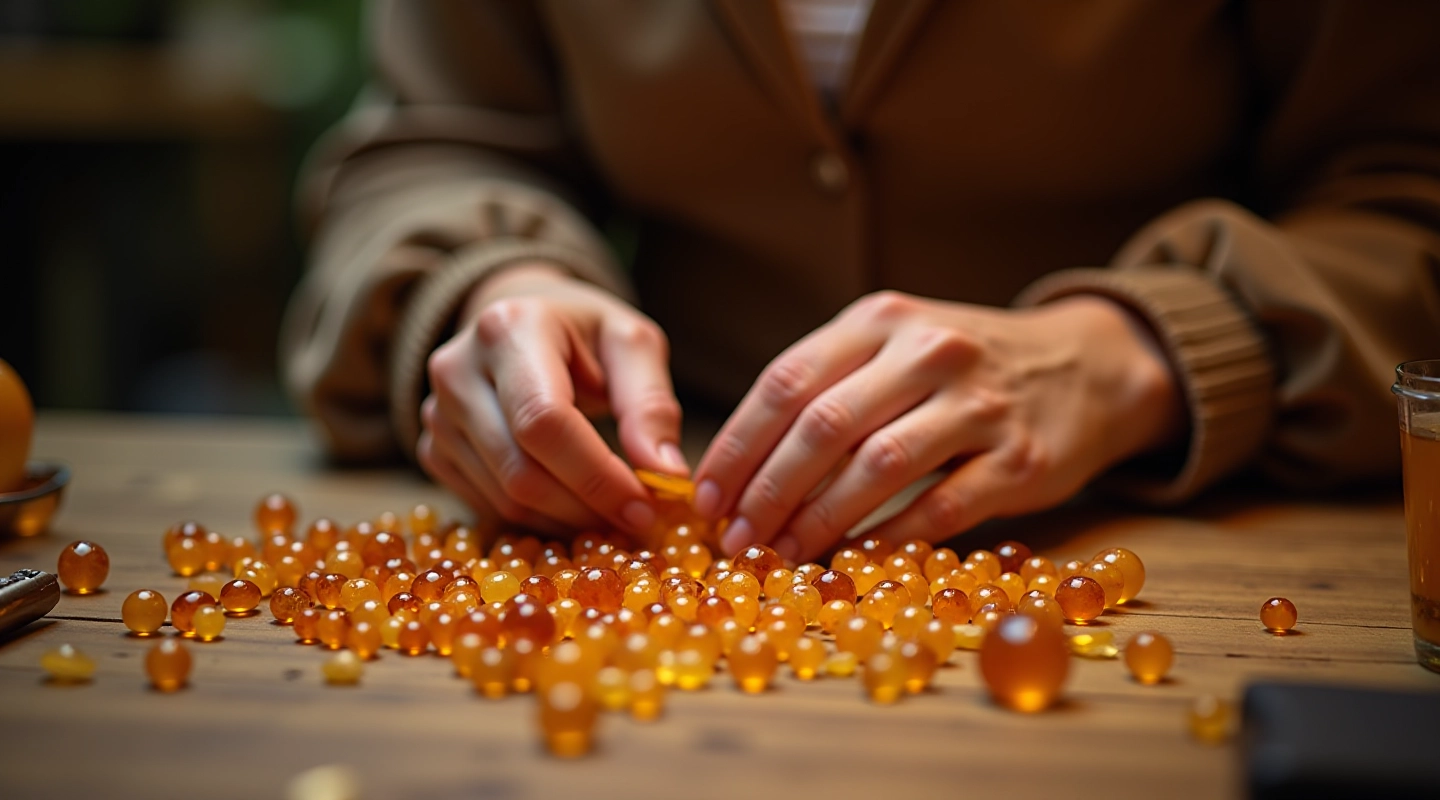
Baltic amber isn't just pretty. It's been forming for millions of years in the forests around the Baltic Sea, and it's got properties that make it genuinely special for jewellery making. You'll find it in different colors — honey, cognac, cherry red, and even milky white — and each type has its own character.
What makes it practical? It's relatively soft compared to stone, which means you can work with it without industrial equipment. It's warm to touch, lightweight, and it doesn't feel heavy around your neck or wrist. If you've never worked with natural materials before, amber's forgiving. You'll make mistakes, sure, but they're rarely catastrophic.
The real thing to understand is that authentic Baltic amber varies. You might find inclusions — little bits of plant matter or insects trapped for millennia. Some people see these as flaws. We see them as proof you're holding something genuinely ancient.
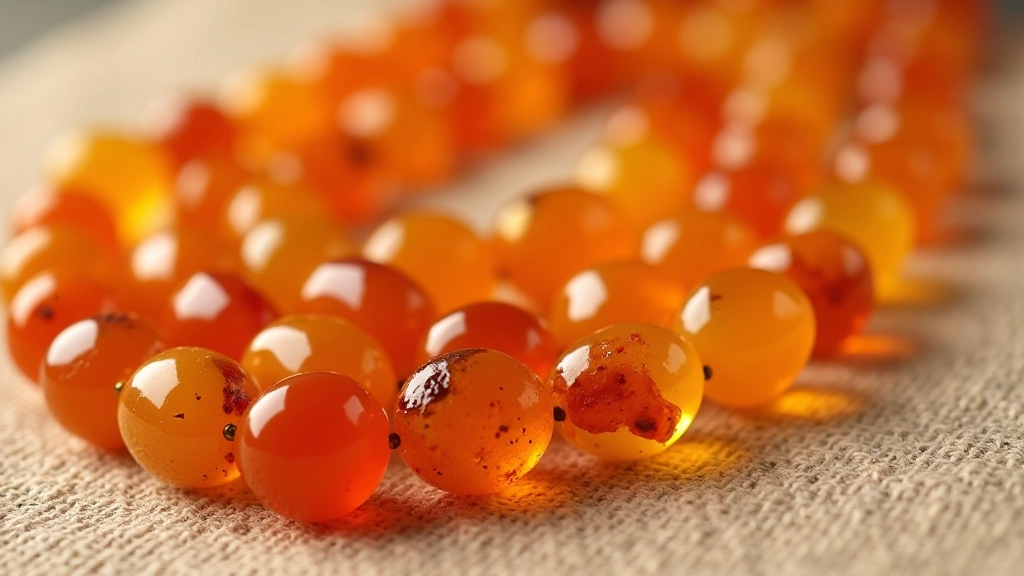
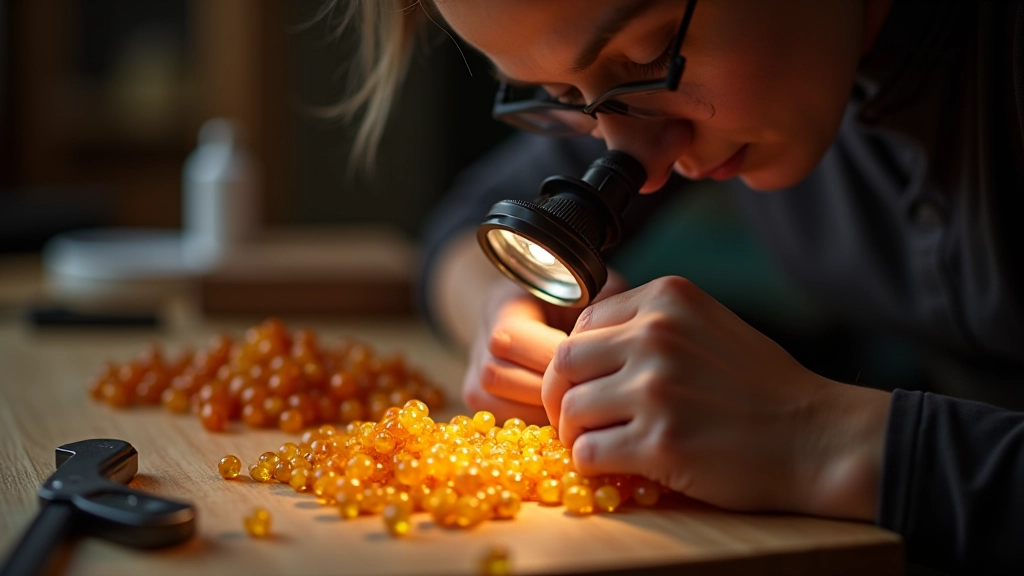
When you're shopping for beads, you've got decisions to make. Color, cut, and quality all matter. But here's what actually matters most: buy from someone you trust. Amber's a small world. The difference between good amber and synthetic replacements is visible if you know what to look for, but it takes practice.
Start with round or barrel-shaped beads. They're forgiving to string, they sit well on the wrist, and you can see the full color without cut facets complicating things. Round beads are 6mm to 12mm depending on the piece — we'd suggest starting with 8mm or 10mm beads for your first project. That size is substantial enough to handle without frustration but small enough that you won't burn through expensive material learning.
Color? Choose what you actually like wearing. Honey amber's warm and classic. Cognac reads darker and more sophisticated. Cherry amber pops against skin. Don't overthink it. You'll notice within your first session whether the color works for you.
Educational Note: This guide is informational, designed to help you understand amber selection and basic techniques. Amber quality and authenticity can vary. When purchasing, work with established suppliers and examine materials carefully before committing to a project.
Amber comes in different cuts, and each one affects how light plays through the bead. Round beads are your baseline — simple, classic, effective. Oval beads elongate the piece and work well in longer necklaces. Barrel shapes (shorter, wider cylinders) create rhythm in a strand because they sit differently than rounds.
Then there's faceted amber. Cut with flat surfaces like a gemstone, faceted amber catches light differently. It's more dramatic. It's also more expensive and requires careful handling because those edges are vulnerable. We'd skip faceted amber for your first project unless you're specifically drawn to that look.
Freeform or raw-shaped amber is interesting if you're doing something artistic, but it's harder to string evenly. The holes often aren't perfectly centered, and the bead sits unpredictably. Save that for when you're confident with standard shapes.
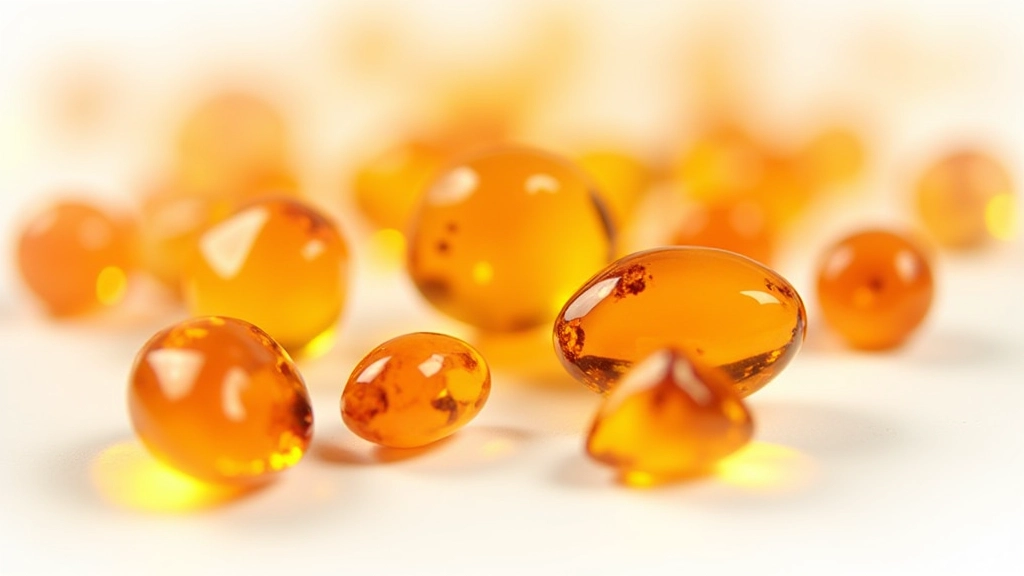
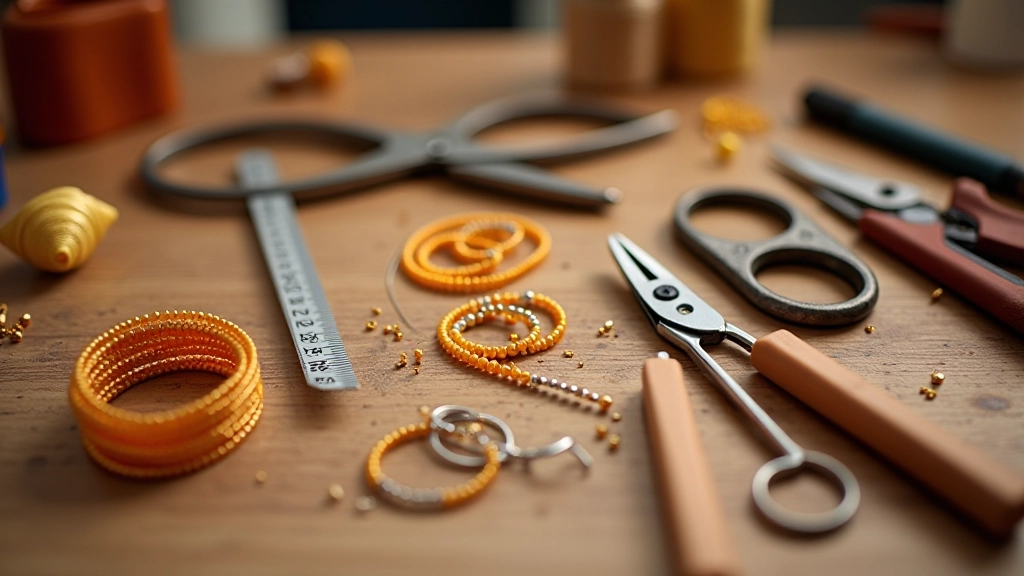
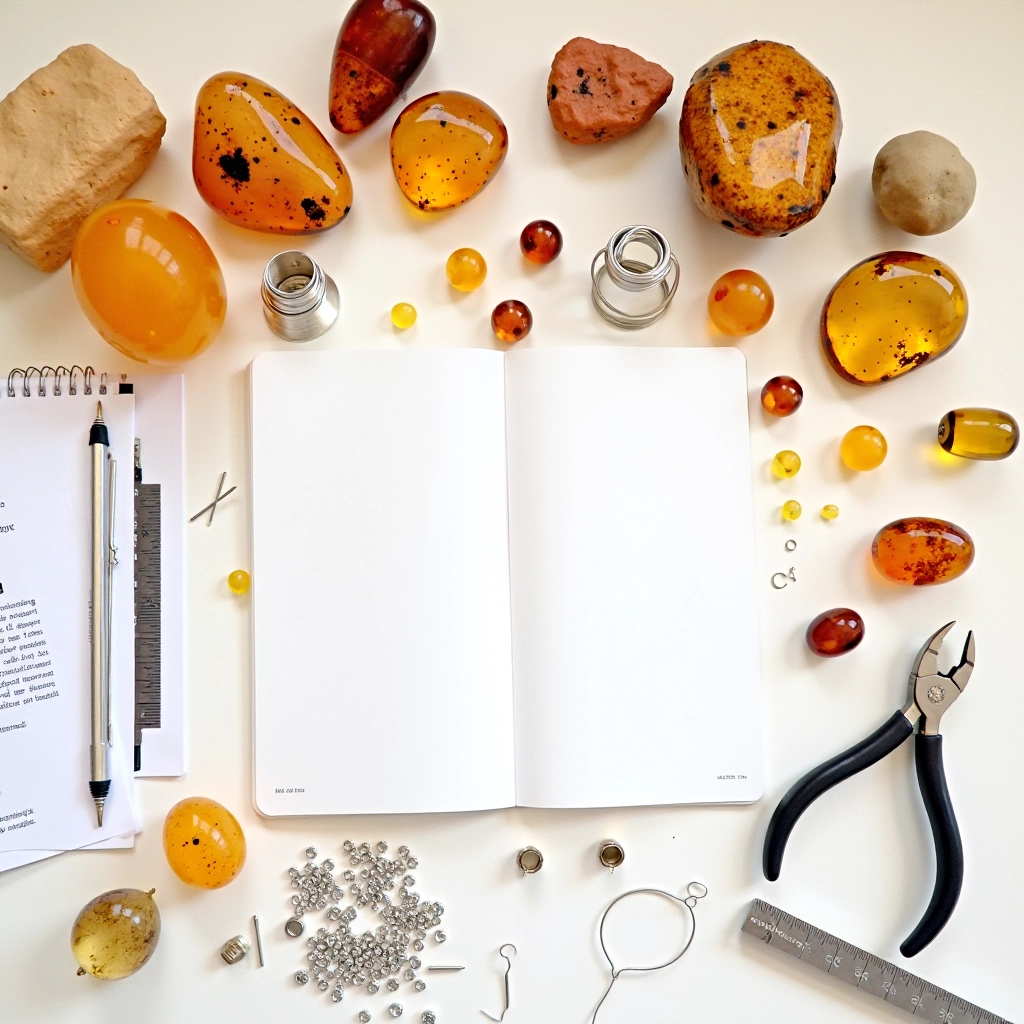
Here's the thing about tools: you don't need much. Don't buy a massive kit with 47 items you'll never touch. Instead, start focused. You need scissors for cutting wire or thread — regular ones work fine initially. You need something to crimp: either crimpers (small pliers specifically designed for metal crimps) or you can tie knots. Knots are fine for learning. Crimps look more professional once you've got the technique down.
For stringing, you've got options. Beading wire is stiff and holds its shape — good for bracelets or structured pieces. Nylon thread is flexible and traditional — better for necklaces that need drape. Start with whatever feels right in your hand. You'll develop preferences quickly.
A ruler or measuring tape matters. Amber beads vary slightly in diameter. If your beads are inconsistent sizes and you don't account for it, your finished piece will look uneven. Measure three or four sample beads from your batch to understand what you're working with.
That's it. Scissors, crimpers or thread, beading wire or nylon, a ruler. Everything else you can add later once you've figured out what style of work you actually enjoy doing.
Before you start stringing, plan it out. Sketch the design on paper. How many beads? What's the pattern — random sizes, graduating sizes, repeating color sequence? A simple 18-inch necklace needs roughly 16-20 beads depending on size. A bracelet needs 7-10 depending on your wrist.
Sort your beads by size and color before you start. This takes 10 minutes and saves you 30 minutes of frustration while you're actually working. You'll see which beads work together, and you'll notice if any are damaged or flawed before you've already committed them to your piece.
Measure your wire or thread against your body. If you're making a necklace, drape your stringing material around your neck and mark where it should end. Add 2 inches for the clasp and finishing. Cut cleanly — fraying thread is annoying to work with.
And here's the practical bit: do this on a small mat or cloth, not a table edge. Amber beads roll. They'll fall. They'll disappear under furniture. A small cloth keeps them contained and makes cleanup simple when you're done.
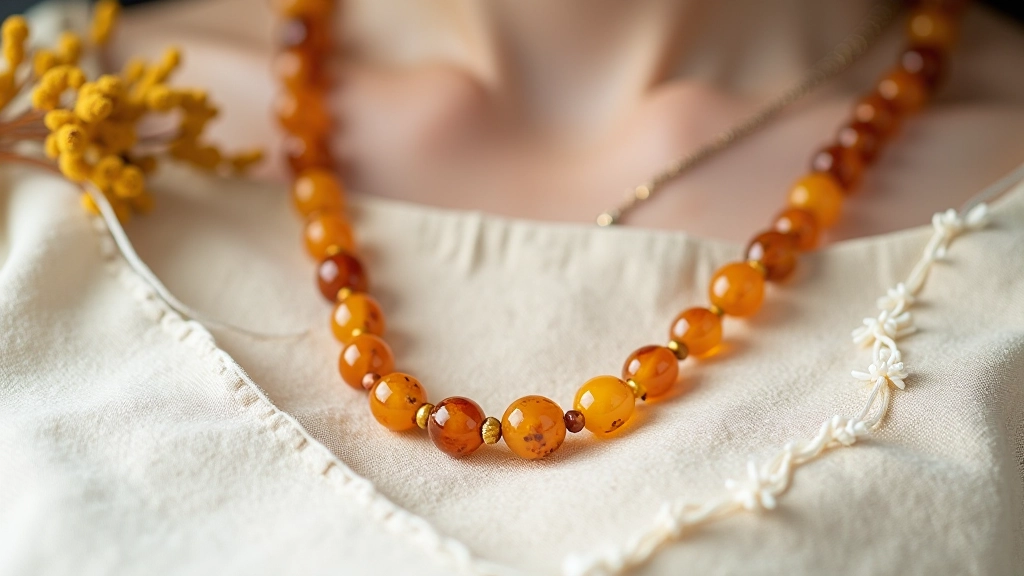
Baltic amber's been worked by people for thousands of years. You're joining that tradition. Start small — a simple bracelet or short necklace. Work with beads you genuinely like looking at. Keep your tool setup minimal. Don't buy expensive equipment until you know you need it.
The first piece won't be perfect. Your knots might be uneven. Your spacing might be off. Your color choices might surprise you. That's completely fine. You're learning how amber feels, how it moves, how it catches light. That knowledge is worth more than a perfect first attempt.
Once you've finished your first piece, you'll understand what works for you and what doesn't. Then you'll be ready to explore more complex techniques — silver settings, mixed metals, intricate patterns. But right now? Pick your amber. Grab your tools. String some beads. That's how every jeweller starts.
Explore more guides to deepen your amber jewellery skills
Master the basics of securing amber in silver settings. We cover wire wrapping, bezels, and techniques that keep your stones safe through years of wearing.
Read More →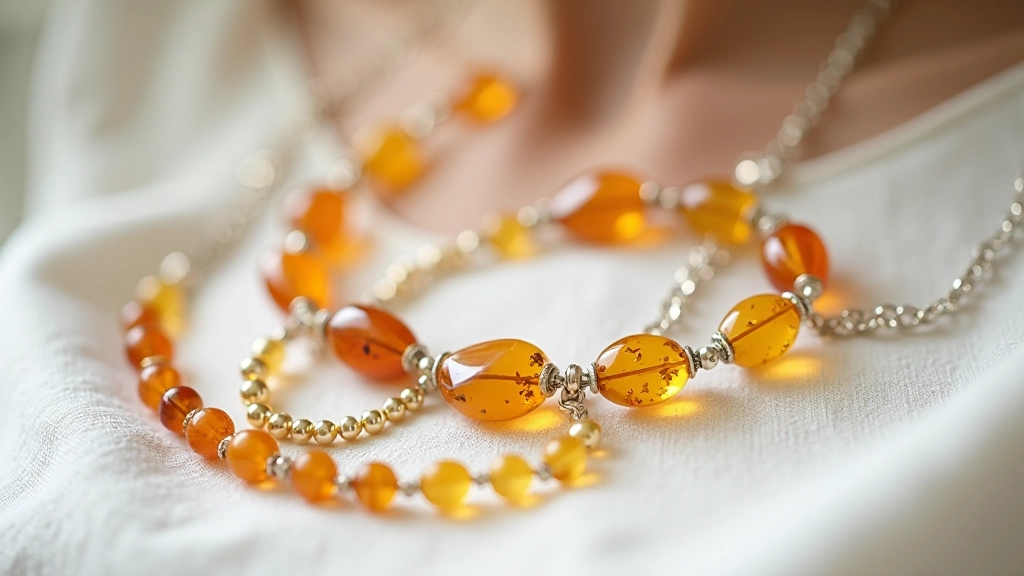
The final touches matter. Discover how to polish amber safely, protect your finished work, and achieve that professional shine without damaging the stone.
Read More →
Not sure which class fits you? We'll help you understand the difference between beginner programs, materials included, and what to expect during your first session.
Read More →