
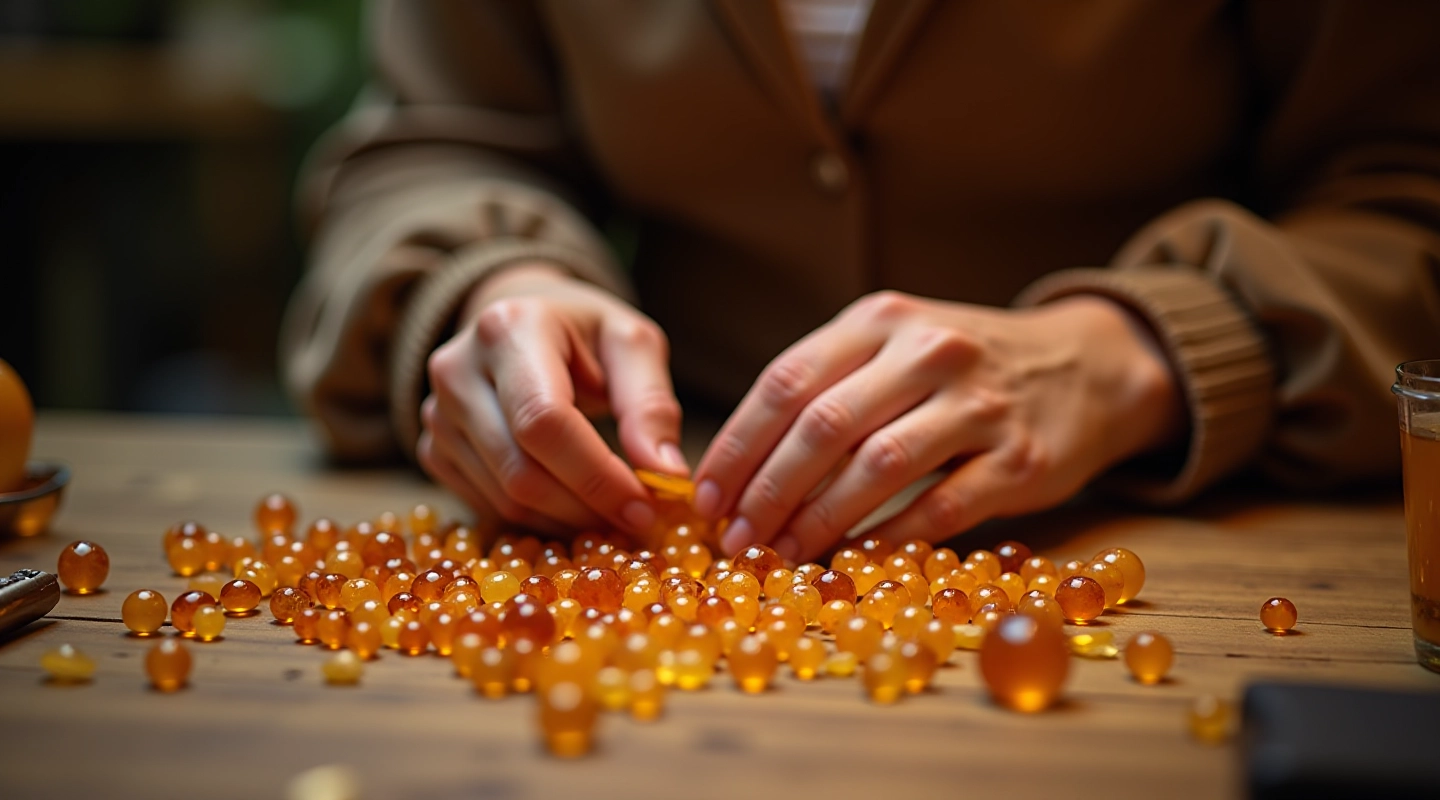
Getting Started with Baltic Amber Beads
Learn how to select quality amber, understand different cuts, and prepare your first stones for setting. A practical foundation for any amber jewellery project.
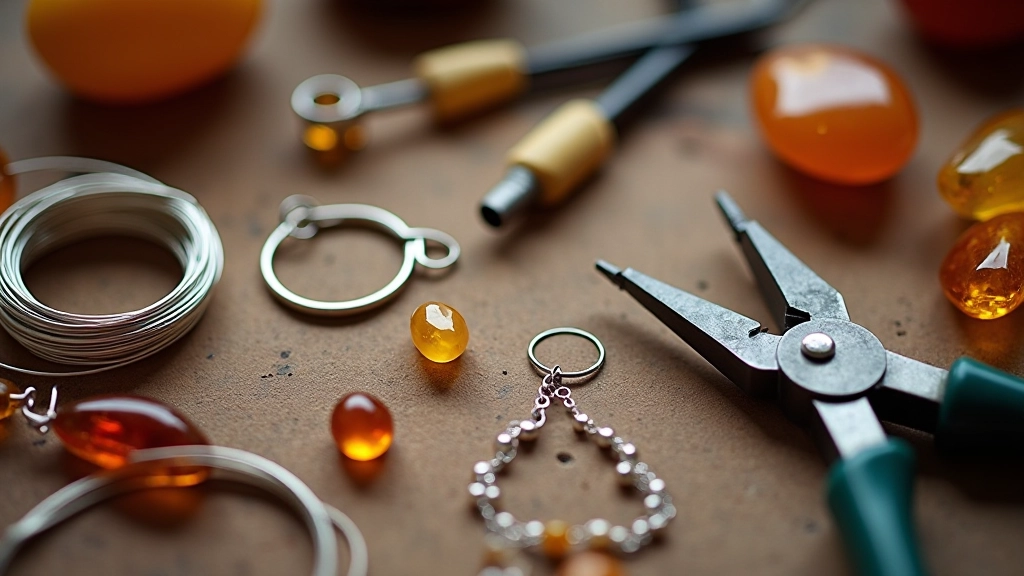
Read GuideMaster the fundamentals of securing amber in silver settings. We'll walk you through wire wrapping, bezels, and prong settings with practical, step-by-step breakdowns for each method.
Author
Written by the sorboovia editorial team, focused on practical, transparent guidance for amber jewellery making workshops.
The way you secure amber in silver determines everything — durability, appearance, and whether your piece lasts years or breaks after a few weeks. It's the difference between jewellery that survives daily wear and pieces that become heirlooms.
Different amber sizes and shapes need different approaches. A large, heavy stone demands different support than a delicate, thin piece. We're not going to overcomplicate this — you'll learn three core methods that cover almost everything you'll encounter.
The foundation: A proper setting distributes the stone's weight, protects delicate edges, and holds the amber securely without applying pressure that could crack it.
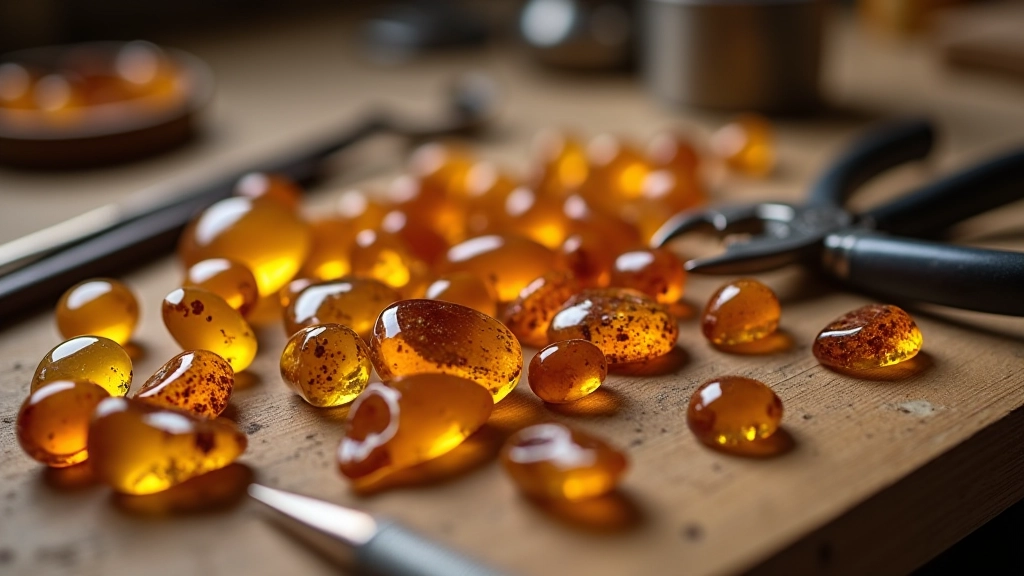
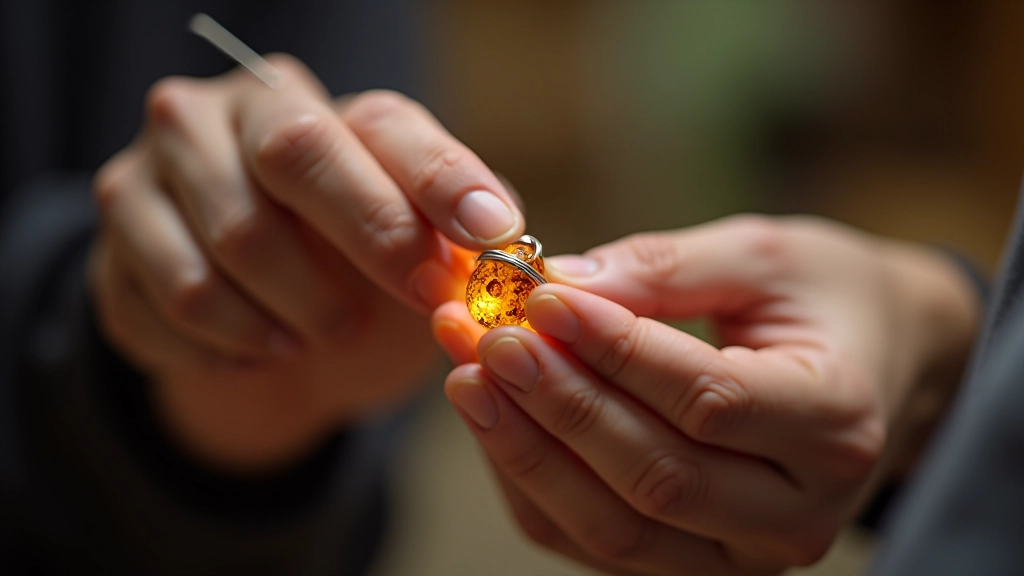
Wire wrapping gives you total control. You're building support around the stone rather than forcing it into a pre-made setting. This method works for irregular shapes, delicate pieces, and custom designs. Plus, you can adjust tension as you go.
18-gauge silver wire handles most amber pieces. Thicker (16g) for heavier stones, thinner (20g) for delicate work. You'll typically need 18-24 inches depending on stone size.
Start at the back of the stone. Make 2-3 tight loops around the thickest part. These loops prevent the stone from slipping down. Keep tension consistent — not so tight you'll crack amber, not so loose it shifts.
Move the wire up the sides, crossing over the top. Each wrap should sit snugly against the stone without gaps. Think of it like creating a silver cage that holds the amber in place from all angles.
This guide provides educational information about amber jewellery setting techniques. Individual results vary based on experience, materials, and technique execution. Always test techniques on practice materials first. If you're working with valuable amber pieces, consider taking an in-person workshop where instructors can observe your work directly.
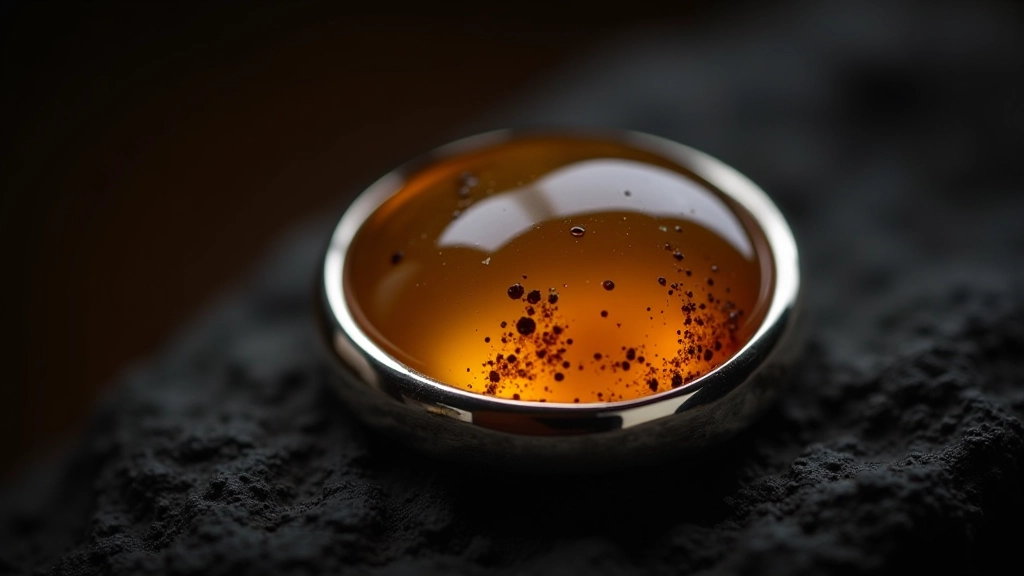
A bezel wraps completely around the amber's edge, creating a protective wall. This method works beautifully for cabochon-cut stones (smooth, domed tops) and provides excellent security for pieces you'll wear frequently. The amber sits inside a silver "cup" that holds it from all sides.
You'll need bezel wire (a flat, rectangular wire designed for this) or you can create a bezel by forming flat silver wire into a circle or oval. The bezel sits at the stone's widest point. Once your amber is positioned correctly, you burnish (press down gently) the top edge of the bezel inward, creating a smooth seal.
Prong settings use thin silver "arms" that bend over the stone's top edge, holding it in place. You'll typically see 3-4 prongs per setting. This technique works well for faceted amber pieces and creates an elegant, open look that lets light through the stone.
The challenge with prongs is precision. Each prong must be the same height, or you'll end up with uneven pressure. If one prong is taller than the others, it'll catch and could eventually bend. We recommend this method once you've got experience with wire wrapping or bezels first.
Faceted or polished stones, pieces with open designs, when you want maximum visibility of the amber
Very thin or delicate amber, pieces for rough wear, if you're just starting out
Beyond the three main techniques, there's a handful of details that separate work that lasts from work that falls apart. None of these are complicated, but they're the difference between amateur and confident.
Always test your setting with slight pressure before finishing. Hold the stone and gently try to move it side to side. It shouldn't budge. If it does, your wraps are too loose or your bezel isn't seated properly. Fix it now — once you've finished polishing, adjusting gets much harder.
Finish your setting smoothly. Any sharp edges or rough spots will catch on clothing and can eventually damage the amber. A file and some fine-grit sandpaper take 5 minutes and make a huge difference. Your finished pieces should feel as good as they look.
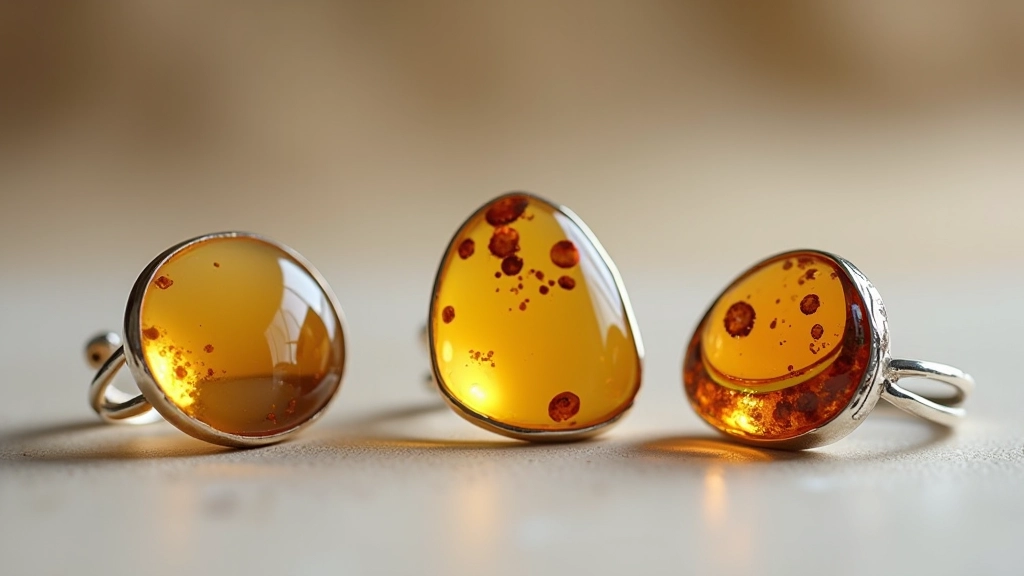
You don't need to master all three techniques at once. Start with wire wrapping — it's forgiving and gives you immediate feedback. Once you're comfortable keeping stones secure, try a bezel. Prongs can wait until you've built confidence.
The real skill isn't any single technique. It's understanding your amber — how delicate it is, what size and shape you're working with, and what kind of wear it'll get. Match your setting method to the stone, and your pieces will hold up. That's the whole game.
Our workshop classes walk you through each method hands-on, with instructors who'll catch mistakes before they become problems.
Explore Workshop OptionsDeepen your amber jewellery skills with these related guides
Learn how to select quality amber, understand different cuts, and prepare your first stones for setting. A practical foundation for any amber jewellery project.
Read Guide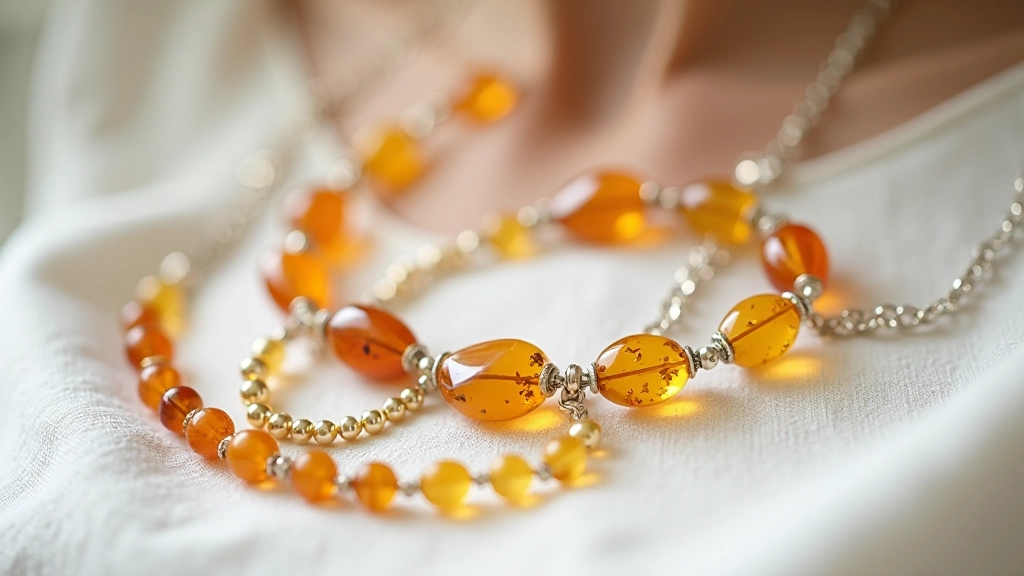
The final touches matter. Discover how to polish amber safely, protect your finished work, and create pieces that look professionally made.
Read Guide
Not sure which class fits you? We'll help you understand the differences between beginner, intermediate, and specialized amber jewellery workshops.
Read Guide